
前回までに、おおよそのアプリのテスト動作は作ったので、今回は画面デザインをそれっぽくしていきます。
この記事は連載です。親記事はこちら

Native Baseを使うと、こんなデザインができるようになります。
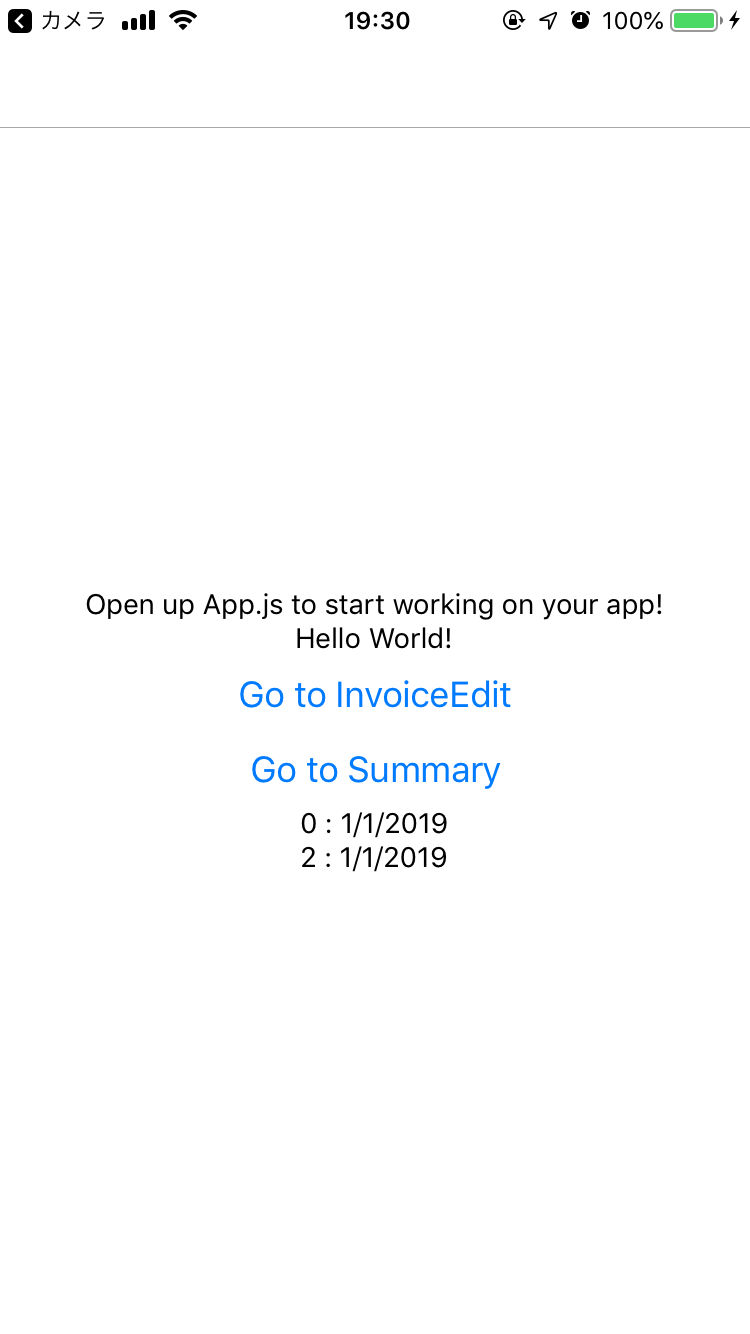
今回の改善前 → 改善後

前提
- Macを使います。でもWindows/Linuxでも同じで大丈夫なはず。
- React Nativeの前回までの内容の続きです。
- 前回までに、React Navigation V5 と unstated を導入済みです。
Native Baseのインストール
Visual Studio CodeでReact Nativeのプロジェクトを開き、Ctrl + Shift + `でPowerShellを開いて、インストールコマンド実行。
$ npm install native-base
ExpoでNative Baseを使う場合、Native Baseがカスタムフォントを使うので、Expo Font(詳しくはこちら)を使えるようにしていなくてはいけません。Expo Fontをインストールします。
$ expo install expo-font
Native Baseで使うフォントを読み込む処理を入れる
Native Baseでは、アイコンなど一部で特殊なフォントを使います(詳しくはこちら)。このため、アプリのどこかでFontをロードしなくてはいけません。通常、App.jsで読み込みします。
App.jsがかなり大きくなったように見えますが、やってることは至って簡単です。
App.jsの変更点
import { View, Text } from "react-native";
// expo-fontとアイコンをimportする
import * as Font from "expo-font";
import { Ionicons } from "@expo/vector-icons";
...
export default class App extends React.Component {
  // ロードが終わるまでは「loading...」を表示するため、state「isReady」で制御
  constructor(props) {
    super(props);
    this.state = {
      isReady: false
    };
  }
  // DidMountのタイミングでフォントリソースをメモリ上に読み込み。終わったらisReadyをオン。
  async componentDidMount() {
    await Font.loadAsync({
      Roboto: require("native-base/Fonts/Roboto.ttf"),
      Roboto_medium: require("native-base/Fonts/Roboto_medium.ttf"),
      ...Ionicons.font
    });
    this.setState({ isReady: true });
  }
  render() {
    //Wait for font loading... フォントの読み込み中なら、「loading...」を表示
    if (!this.state.isReady) {
      return (
        <View>
          <Text>loading...</Text>
        </View>
      );
    }

    let globalState = new InvoiceContainer({ initialSeeding: true });
    return (
      <Provider inject={[globalState]}>
        <NavigationContainer>
          <RootStack />
        </NavigationContainer>
      </Provider>
    );
  }
}
フォントの読み込み部分、ファイルのパスの指定に注意してください。もしApp.js以外で読み込む場合、現在編集しているファイルから見た正しいパスを入れないと、エラーになります。
たとえば、/components/Hoge.jsで実施するなら、以下のように書きます。node_modulesを忘れないでください。
    //これは例です
    await Font.loadAsync({
      Roboto: require("../node_modules/native-base/Fonts/Roboto.ttf"),
      Roboto_medium: require("../node_modules/native-base/Fonts/Roboto_medium.ttf"),
      ...Ionicons.font
    });
ボタンデザインをNative Base版にする+調整
では、HomeScreenのButtonとTextを、react-native版からNative Base版に置き換えてみます。
変更前
import { Button, Text, View } from "react-native";
...
class HomeScreenContent extends React.Component {
  render() {
...
    return (
      <Subscribe to={[InvoiceContainer]}>
        {(globalState) => (
          <View style={styles.container}>
            <Text>Open up App.js to start working on your app!</Text>
            <Text>Hello World!</Text>
            <Button
              title="Go to InvoiceEdit"
              onPress={() => this.props.navigation.navigate("InvoiceEdit")}
            />
            <Button
              title="Go to Summary"
              onPress={() => this.props.navigation.navigate("Summary")}
            />
            {invoiceList}

            <StatusBar style="auto" />
          </View>
        )}
      </Subscribe>
    );

...
変更後
import { Container, Text, Button, Icon } from "native-base";
...
class HomeScreenContent extends React.Component {
  render() {
...
    return (
      <Subscribe to={[InvoiceContainer]}>
        {(globalState) => (
          <Container style={styles.container}>
            <Text>Open up App.js to start working on your app!</Text>
            <Text>Hello World!</Text>
            <Button
              style={{ alignSelf: "center" }}
              onPress={() => this.props.navigation.navigate("InvoiceEdit")}
            >
              <Icon type="FontAwesome5" name="file-invoice-dollar" />
              <Text>Go to InvoiceEdit</Text>
            </Button>
            <Button
              style={{ alignSelf: "center" }}
              onPress={() => this.props.navigation.navigate("Summary")}
            >
              <Icon type="FontAwesome5" name="poll-h" />
              <Text>Go to Summary</Text>
            </Button>
            {invoiceList}

            <StatusBar style="auto" />
          </Container>
        )}
      </Subscribe>
    );
...
結果
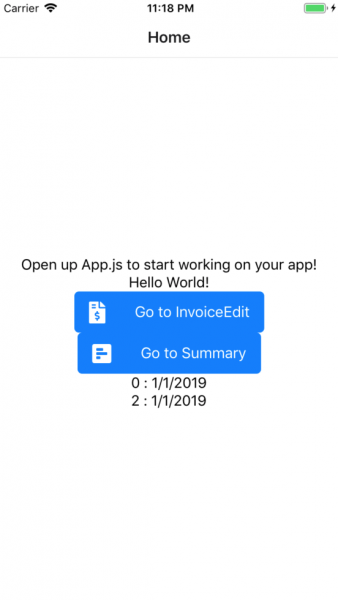
アイコンフォントのテストもかねて、ボタンにアイコンを追加しています。Native Baseで使えるアイコンの一覧はこちら。
Buttonのtitleは互換性がないので、<Text>を使います。これで楽にアイコンも入れられるようになります。HTMLっぽくて楽ですね。
リストデザインをNative Base版にする
リストをNative Base版にしますが、同時にNative Baseのコンポーネント構造ルールに従って、<Content>コンポーネントの中にコンテンツを入れるようにします。
ついでに、ボタンの配置をそれっぽくします。
変更前
import { Container, Text, Button, Icon } from "native-base";
...
  render() {
    let globalState = this.props.globalState;
    let invoiceList = <Text>No invoice</Text>;
    if (globalState.state.data.invoices.length) {
      invoiceList = globalState.state.data.invoices.map((invoice) => {
        return (
          <Text key={invoice.id}>{invoice.id + " : " + invoice.date}</Text>
        );
      });
    }

    return (
      <Subscribe to={[InvoiceContainer]}>
        {(globalState) => (
          <Container style={styles.container}>
            <Text>Open up App.js to start working on your app!</Text>
            <Text>Hello World!</Text>
            <Button
              style={{ alignSelf: "center" }}
              onPress={() => this.props.navigation.navigate("InvoiceEdit")}
            >
              <Icon type="FontAwesome5" name="file-invoice-dollar" />
              <Text>Go to InvoiceEdit</Text>
            </Button>
            <Button
              style={{ alignSelf: "center" }}
              onPress={() => this.props.navigation.navigate("Summary")}
            >
              <Icon type="FontAwesome5" name="poll-h" />
              <Text>Go to Summary</Text>
            </Button>
            {invoiceList}

            <StatusBar style="auto" />
          </Container>
        )}
      </Subscribe>
    );
  }
変更後
import { View, Container, Content, Text, Button, Icon, List, ListItem, Left, Right } from "native-base";
render() {
let globalState = this.props.globalState;
let invoiceList = <Text>No invoice</Text>;
if (globalState.state.data.invoices.length) {
invoiceList = globalState.state.data.invoices.map((invoice) => {
return (
<Text key={invoice.id}>{invoice.id + " : " + invoice.date}</Text>
);
});
}
return (
<Subscribe to={[InvoiceContainer]}>
{(globalState) => (
<Container>
<Content>
<View style={{ flexDirection: "row" }}>
<Left>
<Button
onPress={() =>
this.props.navigation.navigate("InvoiceEdit")
}
>
<Icon type="FontAwesome5" name="file-invoice-dollar" />
<Text style={{ paddingLeft: 0 }}>InvoiceEdit</Text>
</Button>
</Left>
<Right>
<Button
onPress={() => this.props.navigation.navigate("Summary")}
>
<Icon type="FontAwesome5" name="poll-h" />
<Text style={{ paddingLeft: 0 }}>Summary</Text>
</Button>
</Right>
</View>
{invoiceList}
</Content>
<StatusBar style="auto" />
</Container>
)}
</Subscribe>
);
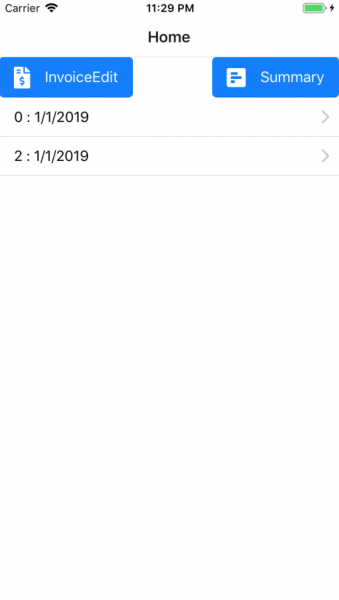
}結果
Native Baseでは、Containerの中に、Header, Content, Footerを入れる前提となっています。そのため、コンテンツはContentに入れないと正しく(あるいはまったく)表示されないなどの問題が発生します。
今回ヘッダーはnavigationがすでに描画してくれているので、Native BaseのHeaderは使わないことにします。デザインの都合で多機能ヘッダーにしたくなったら、navigationのヘッダーをオフにして、Native Baseのヘッダーを使うのもいいですね。ただしその場合はバックボタンなどは自分で描画することになります。
フッターは画面の下に張り付いてくれる使いやすいフッターです。必要になったらつけることにしますが、今はつけません。
ボタンの配置変更は、まず<View style={{ flexDirection: "row" }}>で横方向配置モードにして、<Left>と<Right>で配置しています。
アイコンとテキストの間が空きすぎないように、<Text>のpaddingLeftをゼロにして、おおよそOKくらいに調整しています。
このあたりのStyleの調整は、本来ならstyles.jsにまとめて入れるべきです。